Crispy Fried Shallots

Crispy Fried Shallots 1
I used to be terribly lazy when it comes to making crispy fried shallots. I love fried shallots because they make soups taste so good.

But guess what? I am now motivated and I found a way to make crispy fried shallots, the easy way.

Crispy Fried Shallots 2

First, we need shallots. And yes, you have to peel them. I keep shallots in the fridge because I find that they keep fresh longer. I used to find rotting shallots when I kept them at room temperature.


Shallots that are kept in the fridge don’t make you cry when you peel them. 

Crispy Fried Shallots 3

Next you need a tool to help you slice the shallots quickly and at a consistent thickness. I used to slice them using a knife and that was so tedious. I ended up with thick and thin slices.


Crispy Fried Shallots 4

This is a mandolin which I purchased at Daiso a couple of years ago.


Crispy Fried Shallots 5

You have to be careful though not to slice your finger in the process. You will end up with odd pieces towards the end. Just save them for cooking.


These odd pieces I used for making omelettes.

Crispy Fried Shallots 6

These are the good ones.


Crispy Fried Shallots 7

I don’t have the skills to do this with a knife.


So. How much oil to use, ah? This is my method. My very practical method.

Crispy Fried Shallots 8

Just put all the sliced shallots into a pan. I love this flat bottomed pan and it is perfect for making crispy fried shallots.


Crispy Fried Shallots 9

Then pour in the oil. I used good old Minyak Cap Buruh. Pour just enough to sort of cover the shallots.


Crispy Fried Shallots 10

There is no need to put too much to completely cover the shallots because the shallots will shrink as they cook. Then fire up your stove.


Crispy Fried Shallots 11

Put on high flame at first and as soon as the oil starts bubbling, lower the flame to medium.


Crispy Fried Shallots 12

Stir the shallots every now and then to prevent burning and to ensure even browning.


Crispy Fried Shallots 13

When the color starts to turn brownish like this, keep an eye on the shallots and keep stirring. Do not, I repeat, do not walk away and do other stuff because at this point it can get burnt very easily.

Crispy Fried Shallots 14

Keep stirring. Then take the pan off the flame.


Crispy Fried Shallots 15

Keep stirring because the shallots will keep browning on residual heat.


Crispy Fried Shallots 16


The shallots are now nicely browned and crispy.


Crispy Fried Shallots 17

Then let the whole pan cool.


Crispy Fried Shallots 18

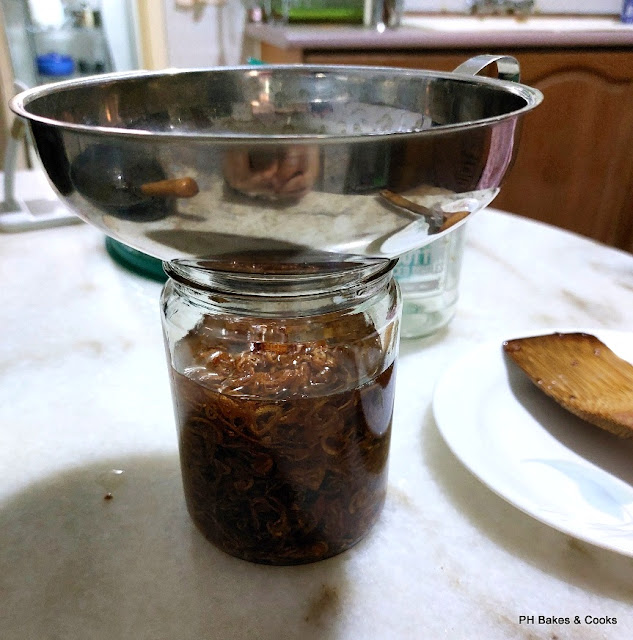
I use my favorite tool, the canning funnel to make the transfer of the crispy fried shallots and oil to a bottle without any spillage.


Crispy Fried Shallots 19

Let cool to room temperature before covering the bottle.


Crispy Fried Shallots 20

At first I stored the bottle in the fridge but I was told that the oil does not go rancid. So I took the bottle out from the fridge and let stand at room temperature.


Crispy Fried Shallots 21

The bottle has been standing for two days already and yet the shallots were still crispy.


Crispy Fried Shallots 22

My theory is that the crispy shallots are submerged in oil and do not come into contact with moisture. That is why they can stay crispy.


Why do I keep the shallots in oil and not separate them into another container? Well, I went to a Chinese New Year gathering at my partner’s sister’s house a few years ago. 

We had steamboat. That’s when I noticed that his people (hah..hah..) don’t bother to separate the shallots (unlike my grandma and mum). There was a bottle of fried shallots in oil at the table for everyone to help themselves. But the shallots were limp. But it didn’t matter because shallot oil rocks!

Crispy Fried Shallots 23